For my current stack, I'm using Jekyll to build static pages, AWS Amplify for deployments, and GitHub actions to pick up broken HTML. This entire setup is designed to be as low-maintenance as possible while remaining customizable and configurable. There's a few benefits of using Amplify instead of GitHub pages:
- Automatically deploy after commits to your main branch
- Password protect pages (or branches)
- Domain management via Route 53
- Private GitHub repository support
Why Wordpress can be insecure
The first website I built in the mid '90s was a simple collection of static HTML pages I used for sharing audio files. I don't even remember what kind of tooling I used to build it. I think it involved FTP and probably had a lot of handwritten HTML. Cool. 😐
I started to use WordPress around 2005, which was a big improvement at first. I learned a lot by digging into PHP, JavaScript, managing a server and learning how SEO works. WordPress ended up being my go-to platform for about a decade right up until the point I got mercilessly hacked into oblivion.
After a thorough postmortem of the hacking incident, I narrowed the cause down to two possibilities:
- An advanced persistent threat conducted a targeted cyber attack and pivoted laterally through my mainframe
- Someone automated a tool like WPScan to look for insecure WP sites and walked in the back door
The sprawling ecosystem of rarely maintained PHP and JavaScript plugins[^1] written by third parties makes it super simple to install unaudited code on your server. The end result for unlucky WP users is that your website gets PWNd after installing a responsive image carousel.
[^1]: There are over 55,000 WordPress plugins available as of January 2020
Why Jekyll is great for building static websites
I noticed Jekyll was being used on a lot of websites and developer documentation. I like to try out new tools quite often, so I decided to take a look for myself. The benefits started to become really obvious after a couple of days of using it, but I really enjoy it for these reasons:
- No server-side complexity to serve pages or maintain
- Markdown for your pages and blog content
- Liquid HTML templating language
- Fast build times & fast page load speed
- Ruby is fun and easy to learn
I'm very happy with this setup right now as I can truly focus on the content like so many platforms and frameworks promise but never really deliver.
Getting started with Jekyll
To get started with this stack, create a new GitHub repository with the name awesome_jekyll_site (this can also be a private repository). The project setup should look like this:
gem install jekyll bundler
git clone git@github.com:{your_gh_user}/awesome_jekyll_site.git
jekyll new awesome_jekyll_site --force && cd awesome_jekyll_site
bundle exec jekyll s
A server is now running locally with your awesome new pages on http://127.0.0.1:4000:

Deploying Jekyll pages to AWS Amplify
In the AWS console, select the Amplify service and click New App -> Host web app. In the "From your existing code" section, select GitHub and click Continue.
Grant AWS Amplify access to your GitHub repository and choose the awesome_jekyll_site repo. Keep the main branch as the default and click Next:

Keep the default build configuration and click Next, review your settings and click Save and deploy. Your new site will be publicly visible at a URL in the following format:
https://{branchname}.{app_id}.amplifyapp.com

Adding a domain to these pages is simple, especially if you already have one registered via Route 53. In your Amplify app, navigate to Domain management and click Add domain.
I'm already using bsmth.de so I am excluding the root and adding my Jekyll demo pages as a subdomain. For this example, I added https://jekyll-demo.bsmth.de. Once you've chosen your awesome domain, click Save.

Adding GitHub actions to deployments FTW
At this point, we have a simple Jekyll blog with automated deploys, and a custom domain with SSL certs applied. We're in a good place in terms of keeping maintenance to a minimum, but there's a great workflow improvement I use to catch errors before they land on public pages.
For this step, we'll use a GitHub action with the fantastic Ruby gem html-proofer. This linter catches broken links (internal and external), missing alt tags for images, malformed HTML and more.
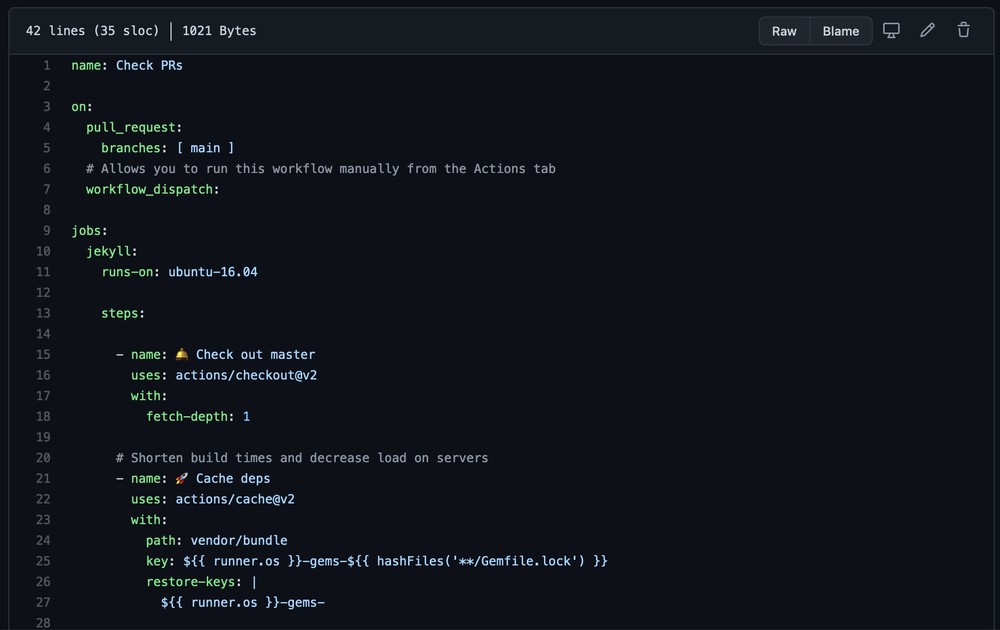
On GitHub, navigate to your awesome_jekyll_site repository, click Actions and select New workflow. Click set up a workflow yourself and paste the following YAML:
name: Check HTML in PRs

on:
  pull_request:
    branches: [ main ]
  # Allows the workflow to be run from the Actions tab manually
  workflow_dispatch:

jobs:
  jekyll:
    runs-on: ubuntu-16.04
    steps:
      - name: 🛎 Check out master
        uses: actions/checkout@v2
        with:
          fetch-depth: 1

      - name: 🚀 Cache deps
        uses: actions/cache@v2
        with:
          path: vendor/bundle
          key: {% raw %}${{ runner.os }}-gems-${{ hashFiles('**/Gemfile.lock') }}{% endraw %}
          restore-keys: |
            {% raw %}${{ runner.os }}-gems-{% endraw %}

      - name: 🔨 Build site
        uses:  lemonarc/jekyll-action@1.0.0

      - name: 📉 Test HTML
        uses: chabad360/htmlproofer@master
        with:
          directory: "./_site"
          arguments: >
            --assume-extension
            --url-ignore "/example.com|twitter.com/"
            --enforce_https
            --check-html
            --check_opengraph
Click Start commit with the changes on a new branch which opens a pull request. A CI job will start and check if we have any dead or broken links:

Summary
The first CI run will take a few minutes to complete, but once Ruby dependencies are cached, the action takes around 45 seconds to build and test your website.
In this article we've learned how to create a basic Jekyll blog, deploy it using AWS Amplify with a domain from Route 53, and added a GitHub action that catches errors on new pull requests.
I hope you found it useful and if you end up building something using this stack, please share it with me via the contact page or let me know on Mastodon.


